

First Step: Paint your wall with your main color. We painted our entire entryway Ultra White by Valspar and let that dry overnight.

Second Step: MEASURE
I was getting really thrown off on this step, because I am terrible at math... But we quickly figured it out and understood what to do. Measure your wall from the ceiling (or crown molding if you have it) to the top of the baseboard. Our wall measured at 105 inches. I wanted 7 wider stripes so we divided 105 x 7 and got exactly 15 in stripes. Start taping off from the very top. Make sure you have an odd number of stripes so that you begin and end with the same color. In our case we wanted white on the bottom and the top so that I didn't have to cut in a second time. You can use either a laser level or a chalk line. Whatever you have will work. We used a laser level and the Scotch Blue 1-1/2" W Delicate Masking Tape. Just to really secure the tape lines go over it with a credit card, a couple of times, just in case. ;) For the first stripe the tape went above the laser line so that our top stripe was exactly 15 inches and then after the first stripes tape you would measure from the bottom of the tape above to the top of the next and so on. I hope this makes since, I am confusing myself by typing it, so just make sure that EACH stripe is exactly 15 inches. Keep double checking throughout!!!
A good tip is to mark all of the rows that you are painting with a small piece of tape and then just tear it off as you go, that way you don't mistakenly paint the wrong section.


Third Step: Paint
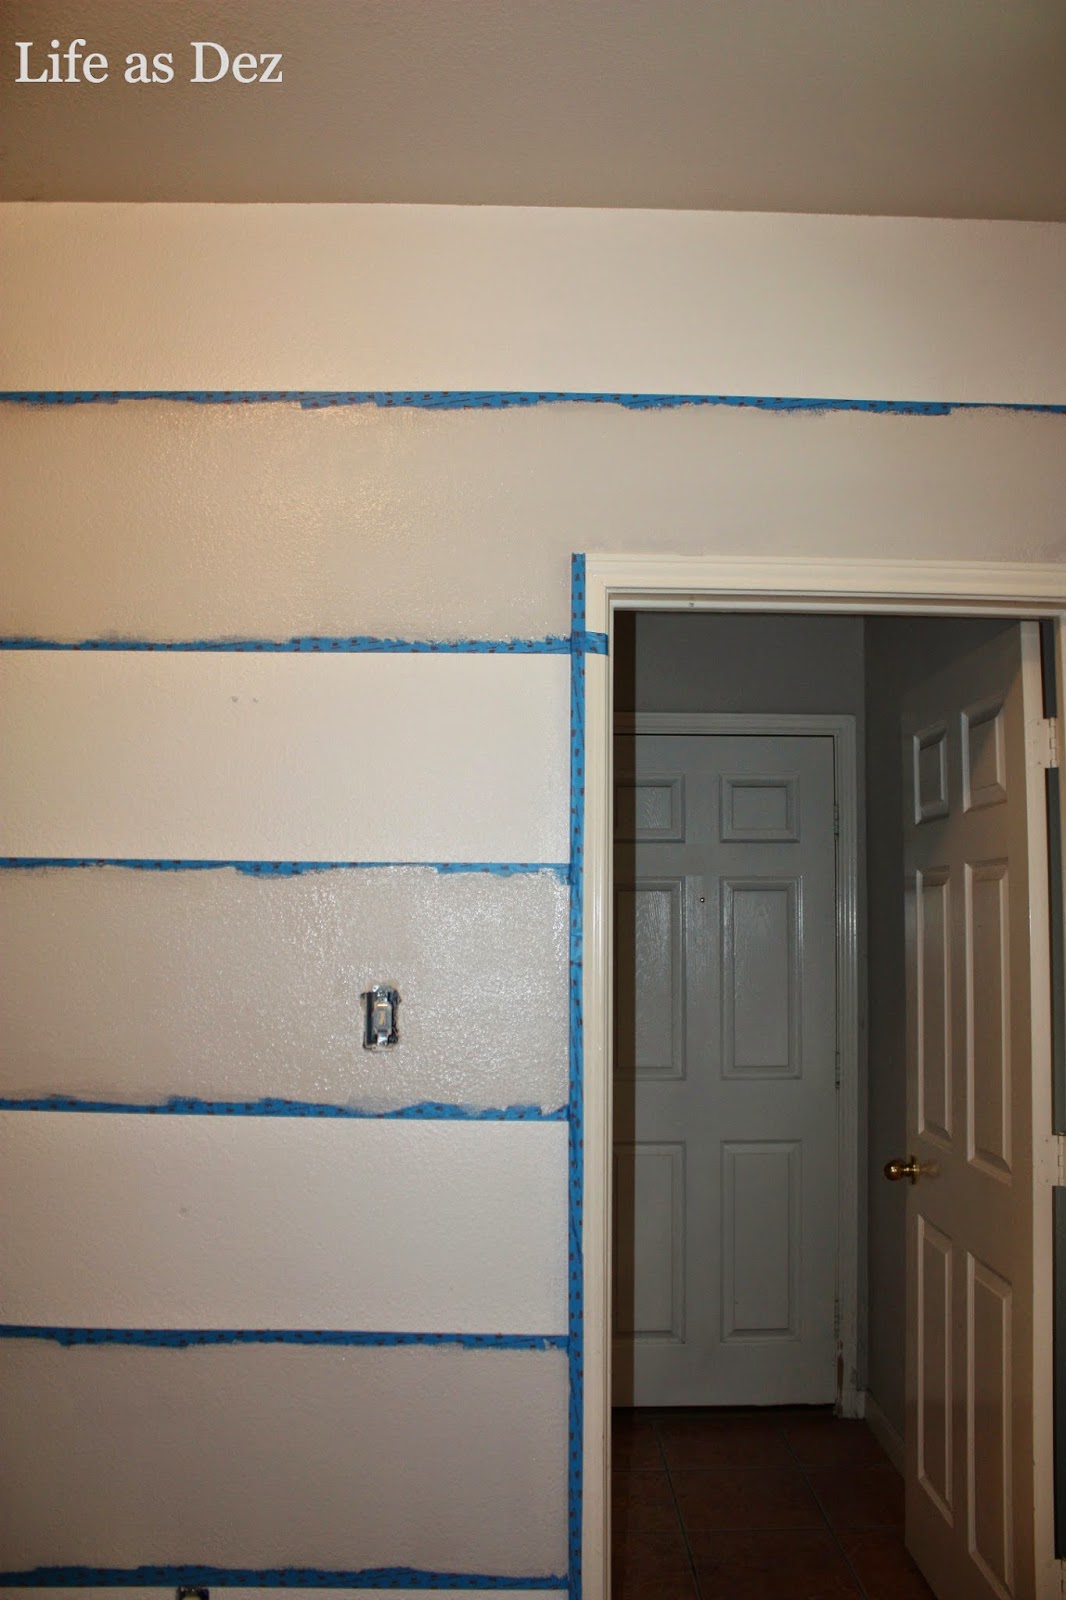
So now is the fun part, we used a variety of our large roller, small 6 inch roller and a paint brush. As always my hubby rolled and I cut in on the edges. You will most likely need to do between two and three coats. We only needed to do two coats and as soon as my hubby finished the second coat I would go behind him and tear the tape off at a diagonal away from the painted section. It was pure delight to see that tape rip off with straight lines!


Yay. Be brave and try it if you are anything like me. You will LOVE the outcome!

No comments:
Post a Comment